RDR2 Explorer Challenges: How to Complete All 10
Explorer 1 asks you to find a treasure map. Ranks 2-10 advance as you solve valid treasure clues and find intermediate maps or final treasure.
- Ranks
- 10
- Explorer 1
- Find a map
- Then
- Follow treasure trails
- Rewards
- Gold bars and gear
- Master Roshi Technique
- Quick and easy
What these labels mean
- Master Roshi Technique
The best trick for completing that objective.
- Quick and easy
The quick route, with the steps needed to keep it simple.
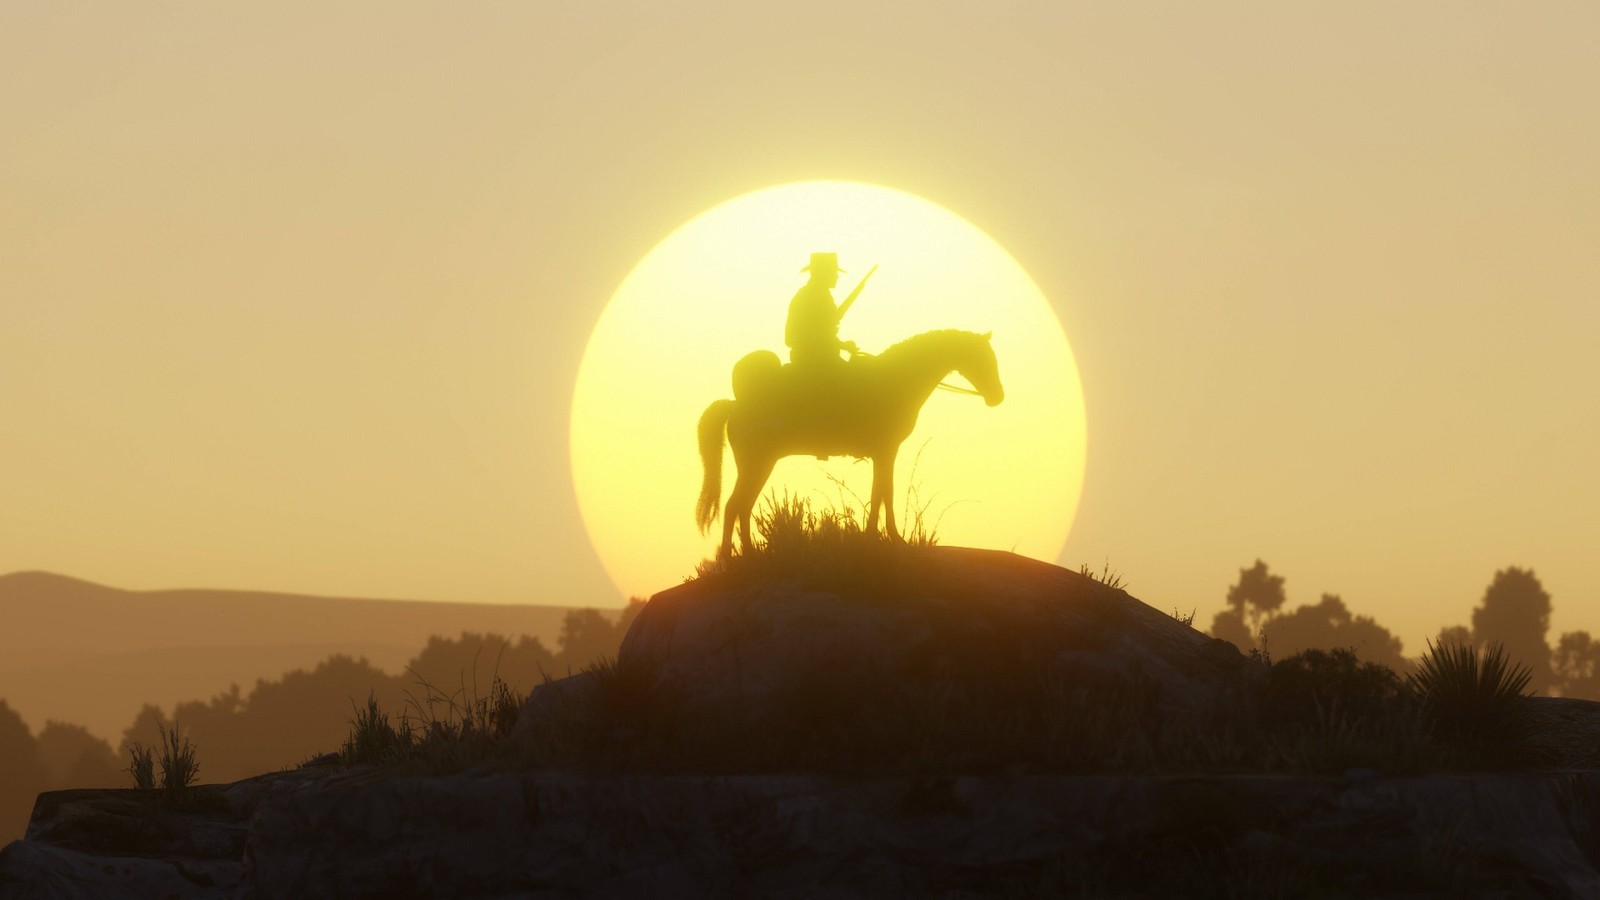
Explorer is one of RDR2’s simplest Challenge sets.
The first rank asks you to:
find a treasure map.
The remaining nine say:
find a treasure.
“Treasure” does not always mean the final chest. Finding the next map in a valid chain can also advance the Challenge.
That is why you do not need nine final treasures.
Follow several complete treasure hunts and the ranks progress naturally.
Quick answer
| Rank | Requirement |
|---|---|
| Explorer 1 | Find a treasure map |
| Explorer 2 | Find a treasure |
| Explorer 3 | Find a treasure |
| Explorer 4 | Find a treasure |
| Explorer 5 | Find a treasure |
| Explorer 6 | Find a treasure |
| Explorer 7 | Find a treasure |
| Explorer 8 | Find a treasure |
| Explorer 9 | Find a treasure |
| Explorer 10 | Find a treasure |
An easy route to remember is:
Jack Hall Gang + High Stakes + Poisonous Trail.
Those three chains provide enough qualifying progress to finish Explorer.
How Explorer actually counts progress
Once Explorer 1 is active, simply collecting the starting map of another hunt does not generally give you another Explorer rank.
For ranks 2-10, solve maps and find:
- the next map;
- or the final treasure.
Example:
Jack Hall Gang
Get the starting map → Explorer 1.
Solve it and find Map 2 → another rank.
Find Map 3 → another rank.
Find the final treasure → another rank.
Continue with other chains until Explorer 10.
Jack Hall Gang
You can begin this hunt in Chapter 2.
Get the starting map
Quick and easyFind Maximo near Flatneck Station on a ridge overlooking the Dakota River.
He offers to sell you his map.
Buy it.
If the encounter is no longer available, the map can later become available through a Fence.
Getting this first map activates Explorer.
Jack Hall: Caliban’s Seat
The map points to Caliban’s Seat.
Method
- Ride to the upper section.
- Find the narrow path down the side.
- Follow the ledge.
- Jump the gap.
- Search the crack in the rock wall.
That gives you the next map.
Approach from above.
Do not waste time trying to climb directly up the cliff.
Jack Hall: Cotorra Springs
The next clue points to Cotorra Springs.
Look for the stone piles near the geysers.
Search the correct pile to retrieve the next map.
Jack Hall: O’Creagh’s Run
The final map sends you to O’Creagh’s Run.
Swim or row to the small island.
Search the rock there.
The final treasure contains two Gold Bars.
Poisonous Trail
This hunt is also available from Chapter 2.
Starting map: Cairn Lake
Go to the cabin at Cairn Lake, east of Colter.
Inside:
- find the bed;
- check underneath it;
- open the lockbox.
The first Poisonous Trail map is inside.
The Flaco Hernández gunslinger mission also takes you to this cabin.
Poisonous Trail: Face Rock
The first clue leads to Face Rock, north of Rhodes.
Method
- Find Face Rock.
- Move around the nearby hillside.
- Look for the dead trees.
- Search the hollow stump.
The next map is inside.
Poisonous Trail: Serpent Mound
The next clue leads to Serpent Mound, west of Van Horn.
The formation looks like a snake from above.
Find the eye-shaped section.
Search the hole in the middle of the stones.
That gives you the final map.
Poisonous Trail: Elysian Pool
The final treasure sits inside the cave behind the Elysian Pool waterfall.
Bring your lantern.
Method
- Walk behind the waterfall.
- Enter the cave.
- Equip the lantern.
- Carefully descend.
- Follow the tunnels.
- Work your way deeper into the cave.
- Search the final rock pile.
The treasure contains four Gold Bars.
Do not sprint around the drops.
The cave is more dangerous than the treasure hunt itself.
High Stakes
High Stakes becomes available later in the story.
A treasure hunter can appear as a random encounter.
Take his map.
If you repeatedly miss the encounter, the map can eventually become available through Fences.
High Stakes: Cumberland Falls
The first clue points to Cumberland Falls.
Walk behind the waterfall.
Search the hidden space for the next map.
High Stakes: Barrow Lagoon
The next clue sends you to Barrow Lagoon.
Find the fallen log wedged between rocks.
Walk onto it.
The next map is hidden around the middle section.
High Stakes: Bacchus Station
The final clue points to the cliffs around Bacchus Station.
Move carefully.
Method
- Reach the high ground overlooking the river.
- Find the route down onto the ledges.
- Drop one level at a time.
- Follow the cliff.
- Search the rock crevice.
The final treasure contains three Gold Bars.
Do not try to drop straight down the cliff.
Landmarks of Riches
This treasure hunt can also progress Explorer.
Its starting map is found at the Obelisk northwest of Strawberry, near Owanjila.
The chain later uses locations including:
- Tiny Church;
- Mysterious Hill Home;
- Bolger Glade;
- Mount Shann.
If you already started it, keep going.
There is no reason to abandon a working treasure chain just to copy one exact route.
Treasure maps I would not use for Explorer counting
Not every small treasure map behaves the same way.
Current Challenge references do not treat the Torn Treasure Map or Sketched Map as safe substitutes for the nine Explorer treasure ranks.
For a clean run, use the main chains.
Can Arthur complete Explorer 10?
Yes.
You do not need the Epilogue if you use treasure hunts available during Arthur’s story.
Jack Hall, Poisonous Trail and High Stakes provide enough qualifying progress.
Landmarks of Riches can help too.
Explorer and 100% completion
Explorer is one of the nine Challenge categories.
All 90 Challenge ranks are required for Total Completion.
The 100% checklist separately asks you to complete at least one treasure-hunt chain.
These goals naturally overlap.
Unlocks
| Rank | Main reward |
|---|---|
| Explorer 1 | Holster |
| Explorer 3 | Bandolier |
| Explorer 7 | Gun Belt |
| Explorer 10 | Off-Hand Holster |
Buy the reinforced gear from the Trapper afterward.
If the next map is missing
Check:
- Do you own the previous map?
- Have you opened and read it?
- Are you at the correct location for that specific chain?
- Did you reload an earlier save?
- Are you trying to skip a clue?
Treasure hunts are sequential.
Do not go straight to the final treasure and expect it to appear without following the maps.
Frequently asked questions
How many Explorer Challenges are there?
What does Explorer 1 require?
Find a treasure map.
What do Explorer 2-10 require?
Find treasure. Valid intermediate maps found by solving previous clues can advance those ranks.
Which treasure hunts should I use?
Jack Hall Gang, Poisonous Trail, High Stakes and Landmarks of Riches are useful options.
Do I need nine final treasure chests?
No.
Qualifying intermediate maps also progress Explorer.
Can Arthur finish Explorer?
Yes.
What is the easiest first map?
Jack Hall Gang from Maximo near Flatneck Station.
Where does Jack Hall Gang end?
On a small island in O’Creagh’s Run.
Where does Poisonous Trail end?
Inside the cave behind Elysian Pool.
Where does High Stakes end?
On the cliffs near Bacchus Station.
More Challenge guides
Sources
Red Dead Wiki — Explorer Challenges.
RDR2.org — Explorer Challenges Guide.
PowerPyx — Treasure Map Locations & Solutions.
Last verified: October 5, 2026.
—