Streaming lights: how to place them and what to buy to light your face
Before you buy three panels, put one light where it's needed. A window or a cheap work light can start the job; the Elgatos buy you control, diffusion and headroom.
Contains affiliate links: if you buy through them, Daykyri earns a commission at no extra cost to you.
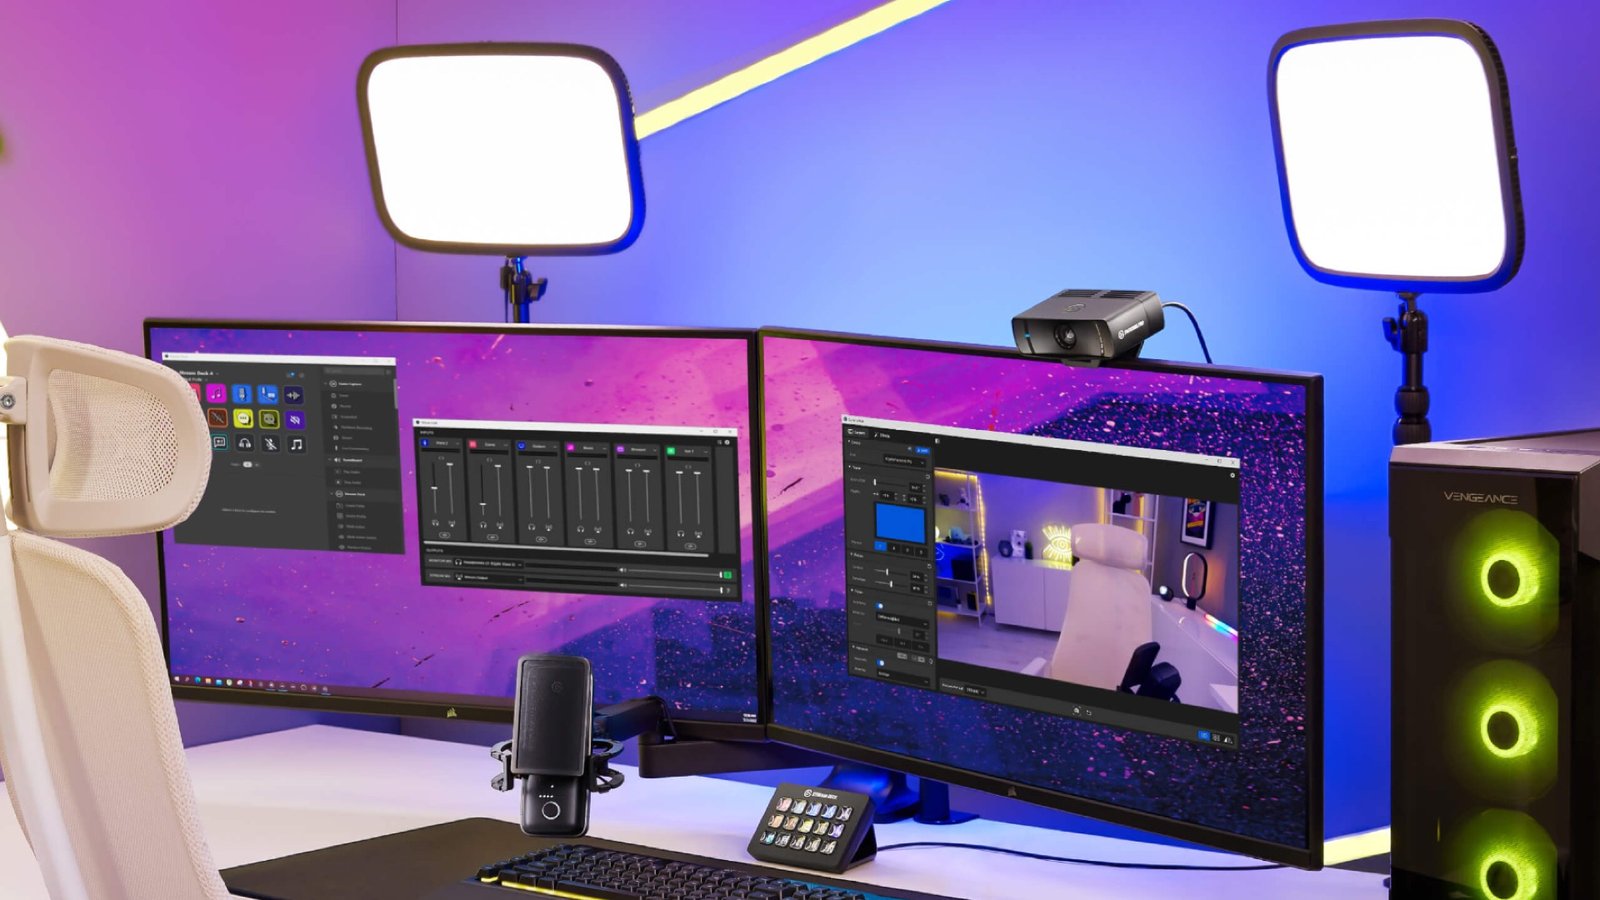
Turn off the light and let the monitor light your face.
You walk into a dark street: it drops.
You step onto a beach in full sun: it shifts.
You open a blue menu: it shifts again.
The webcam chases the game.
Turn on a light in front of you and the chase stops.
Your face gets a steadier amount of light, and the camera stops cranking up its sensitivity to find you.
And before you buy three panels, it helps to know what job each one does.
Three lights, three jobs
In Cameron’s guide, every light comes in with a job: shape, fill or separate you from the background.
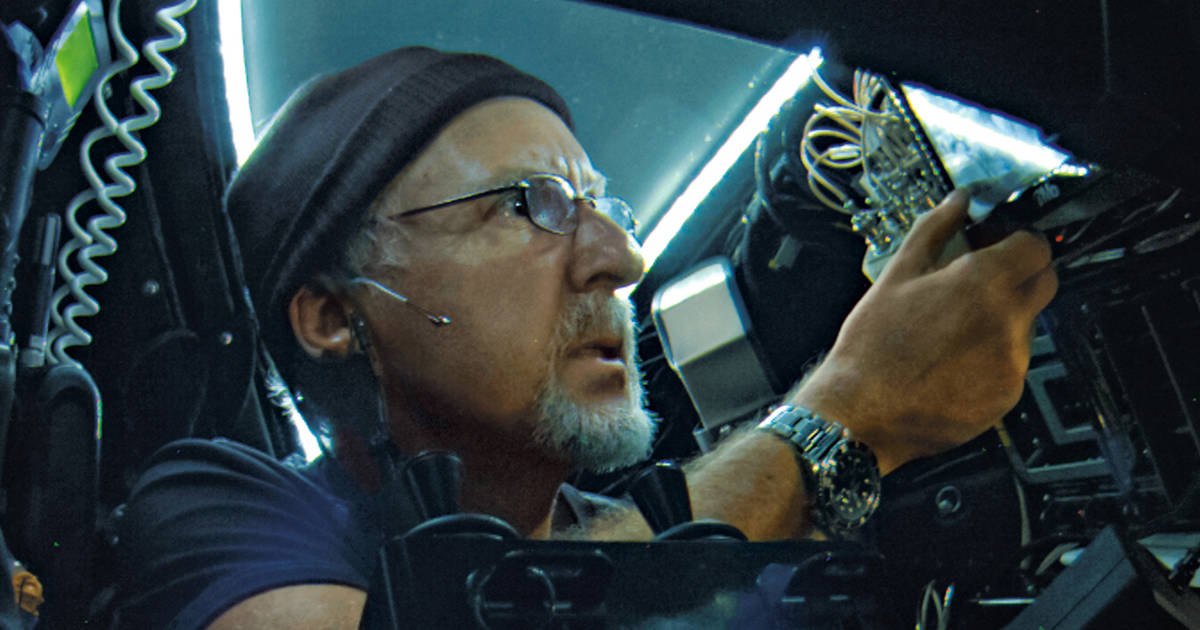
The key light comes in from one side.
The other side of your face keeps some shadow.
The second light faces that shadow and takes the weight off it.
The third goes behind you.
Hair, shoulders, silhouette: the edge comes back.
Key to one side. Fill against the shadow. Backlight behind.
Three lights. Three different jobs.
On a desk, you don’t need three receipts on the table on day one.
First, one.
Raise it a little above your eyes. Move it slightly to one side. Aim it at your face.
Switch it on.
One cheek gets more; the other, less.
Now there’s shape.
Shadow biting too hard? Bring in some light from the opposite side.
And it doesn’t have to be another identical panel. A white wall knows how to bounce light back too.
If your hair, shoulders or chair start disappearing into the background, that’s the third job.
Light behind. The edge comes back.
Let each light show up when it has a job to do.
Before you open Amazon, open the curtains
James Cameron recommends using natural light as much as possible when you’re working on a small budget.
At a desk, the translation is pretty simple.
Is there a window in front of you or slightly to one side?
Before you open Amazon, open the curtains.
Move the desk closer. Open the curtains. Look at your face.
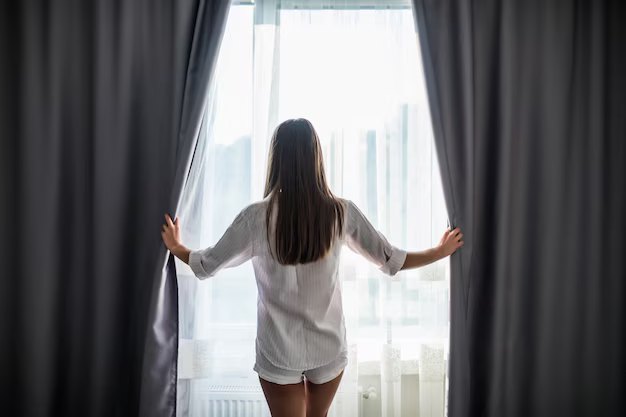
Your key light might be six feet tall and have been stuck to the wall for years.
Free.
A cloud passes: the light drops.
The sun goes down: it drops again.
It’s 10 p.m.: your free key light just closed for the night.
That’s when paying for a panel starts to make sense.
You can put back a similar amount of light in the morning, in the afternoon and after dark.
The window gives you light.
The panel lets you repeat it.
A hardware store sells light too
Cameron’s course guide spends a whole section on lighting without professional gear.
The options include cheap clamp lights, LED lights and tripod work lights from a hardware store.
Not glamorous. Lots of light.
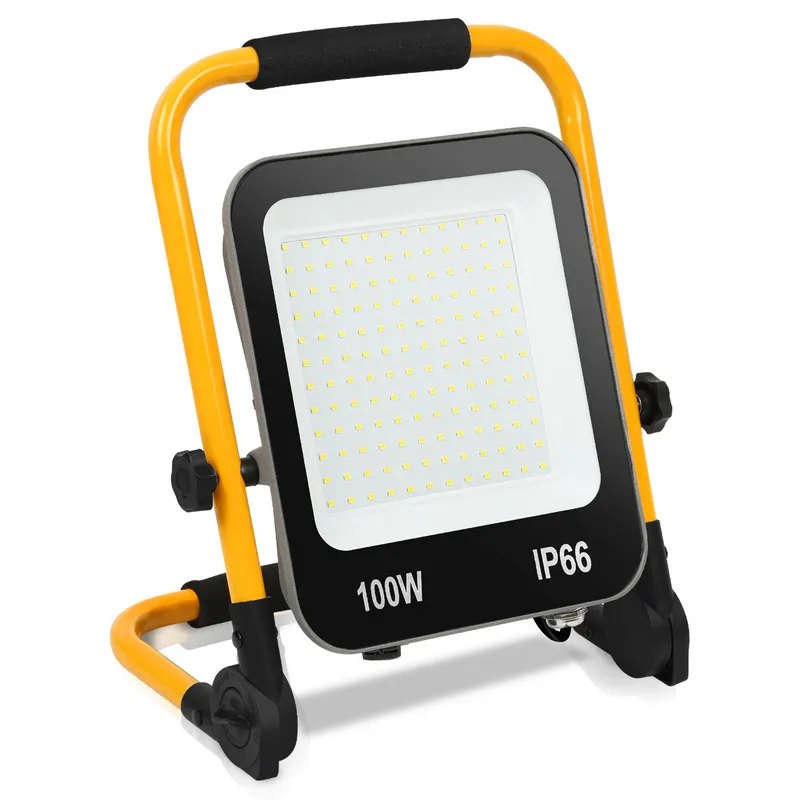
Search for an LED work light with tripod on Amazon
For a streamer on a small budget, I’d start with LED.
Put it a bit above eye level and to one side, the same way you’d place a key light.
Turn on the webcam. Look at the shadow.
Switch on a work light and then a dedicated panel and the difference shows up: one only has to light a space; the other has to make a face look good on camera.
A cheap work light can hit hard.
Hard light: you can see exactly where the shadow starts.
Soft light: the edge is harder to find.
The bigger and more diffused the source, the less knife the shadow has across your face.
Forehead, nose, jaw: they keep their shape.
The shadow stops slicing them like a line.
Blue gel, diffusion and Cinefoil
Cameron’s guide also suggests fixing cheap lights before replacing them.
If a halogen bulb throws a yellow cast, he recommends heat-resistant color filters, including blue gel, to push that tone toward white.
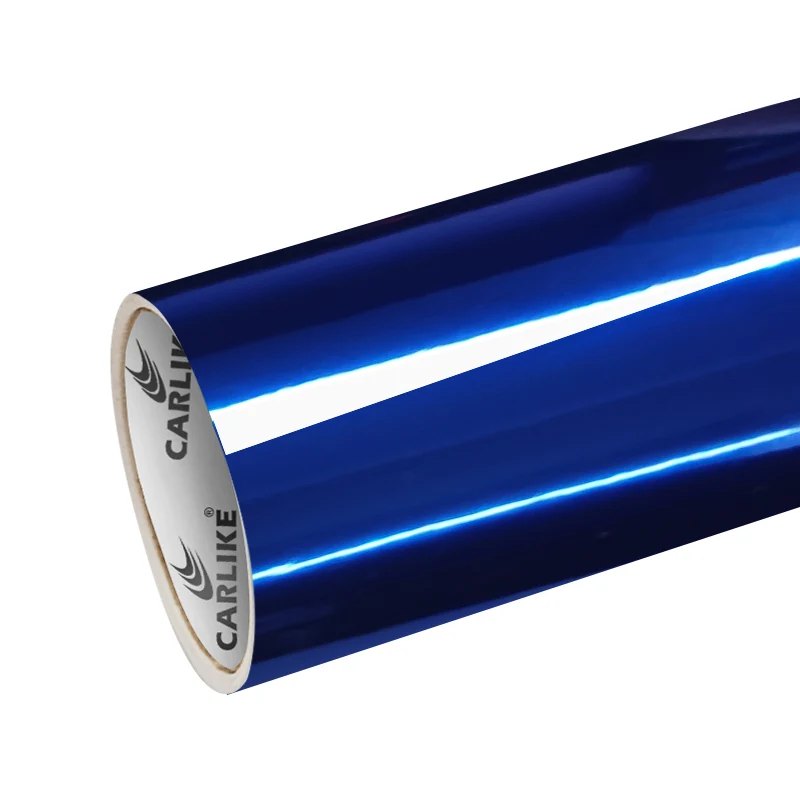
Two words here I wouldn’t drop:
heat-resistant.
Don’t put just any plastic in front of a hot halogen lamp.
He also mentions soft filters to take the edge off and black Cinefoil around the edges of the lamp to aim and focus the light.
In modern streaming, a dimmable LED sidesteps most of the blue gel problem because you can pick the right color temperature directly.
The principle still works.
Light too yellow? Correct the color.
Shadow too sharp? Diffuse.
Light landing where you don’t want it? Aim it.
You don’t need a cinematography degree.
Look at the shadow. Look at the image. Fix it.
You can also fire it at a wall
Light doesn’t always have to travel straight from the lamp to your face.
Point a source at a white wall.
The wall sends it back wider.
That’s bounced light.
It comes back with less punch, spread over more wall and more face.
That way a cheap light can fill the other cheek without firing straight at it.
Three lights in the cart don’t give you three lights placed well.
Put up one. Look. Half your face disappearing?
Fill.
Your shoulder ends where the wall begins?
Light behind.
Let each light show up when it has a job to do.
What the extra dollars buy
The hardware store light already put light on your face.
Now it’s time to see what the extra dollars buy.
A diffused surface. Adjustable color temperature. Repeatable brightness.
Controls close to the desk.
Mounting made to stay put.
And more room to move the light without ending up in the dark.
That’s where Elgato’s three options come in.
Budget: Elgato Key Light Neo
About 6 × 6 inches (150 × 150 mm).
Small. Close.
In front of a face.
The Key Light Neo adjusts its color temperature between 2,900 and 7,000 K, with a CRI above 94.
The power source changes how hard it can push.
USB-A: up to 400 lumens.
USB-C: up to 700.
With enough power, the same panel can reach 1,000 lumens.
Same light. Different push.
The “1,000” on the spec sheet doesn’t show up just by plugging it into any port.
That matters because the webcam is right here.
Your face, less than three feet away.
You don’t have to light up Times Square.
You have to light that.
That’s where the Neo lives.
For a webcam on top of the monitor and a small desk, it can work as the key light without taking over half the room.
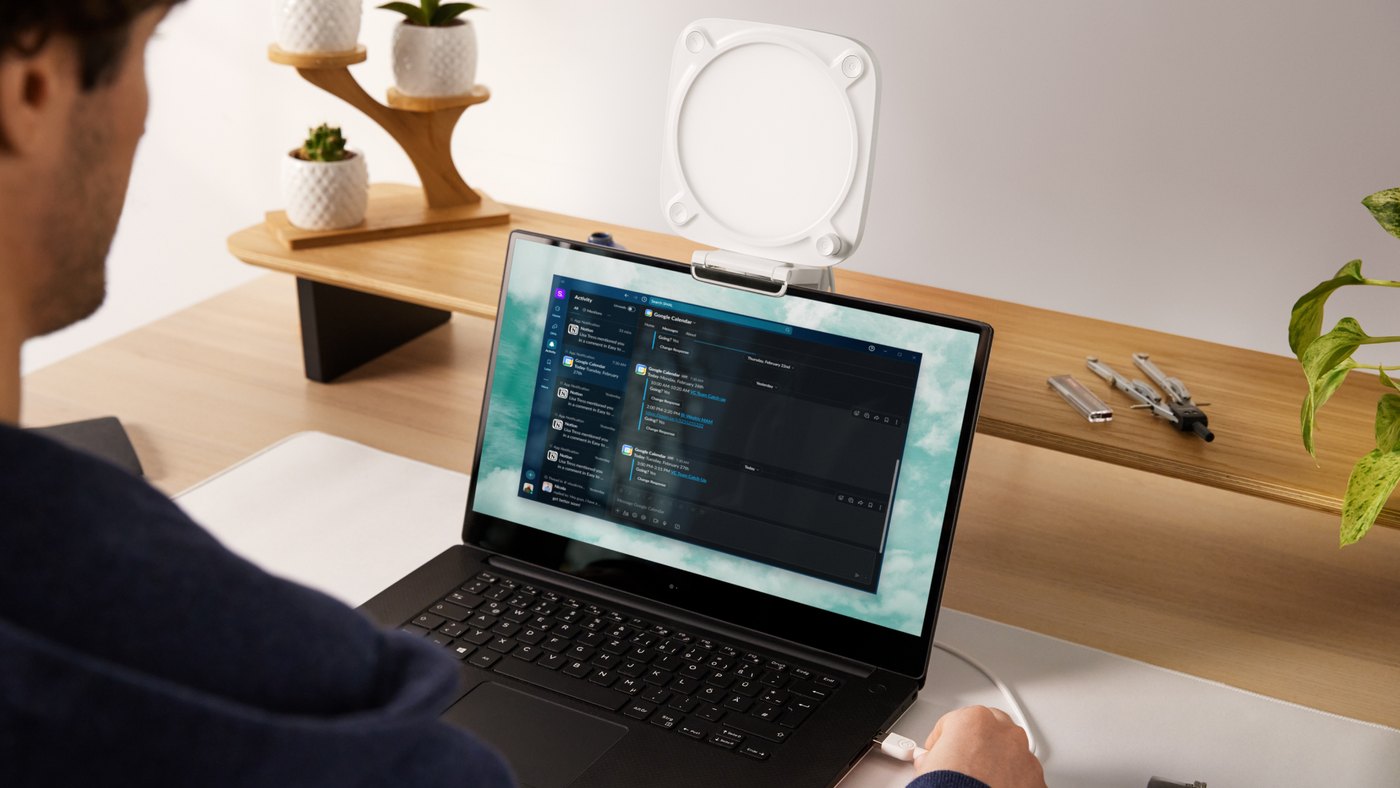
See Elgato Key Light Neo on Amazon
Mid-range: Elgato Key Light Air MK.2
The panel grows.
So does the ceiling: up to 2,100 lumens with enough power.
The Key Light Air MK.2 measures about 12.6 × 8.1 inches (319 × 207 mm), adjusts color temperature between 2,900 and 7,000 K and keeps a CRI above 94.
More surface in front of you means more spread-out light.
Face. Shoulders. Upper body.
Less hot spot and more area covered.
Here the dollars buy two things: more surface in front of you and more room to move the light back.
You can pull it away from the desk without your face fading out as fast.
And if you already use a Stream Deck, you can bring lighting control onto the same desk.
For a normal streaming setup, this is the one with the most headroom before you get to the size of the big Key Light.
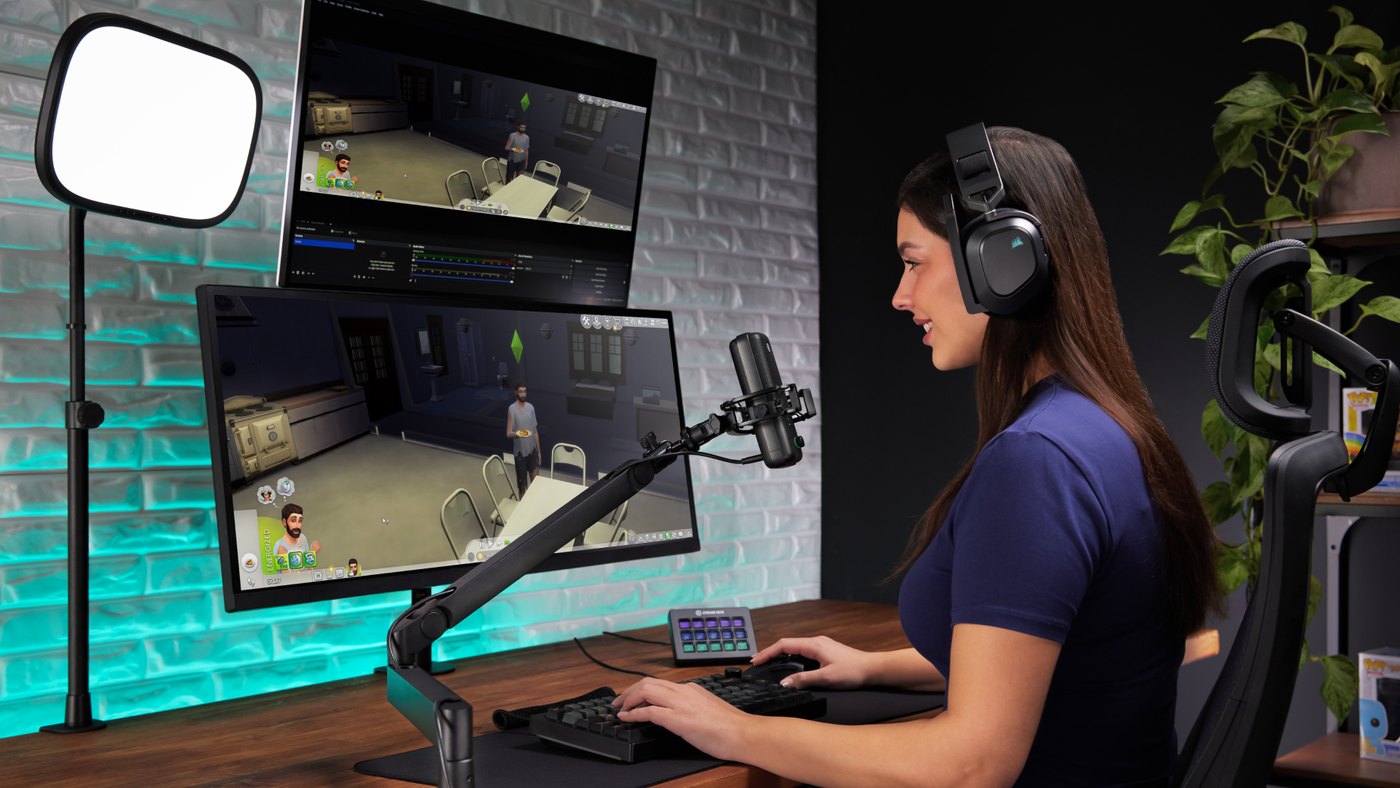
See Elgato Key Light Air MK.2 on Amazon
High-end: Elgato Key Light
About 13.8 × 9.8 inches (350 × 250 mm).
Up to 2,800 lumens.
This is where lumens start buying space.
Move the panel back: it still reaches.
Widen the shot: it still covers.
Put more body or more background in frame: that’s where the 2,800 lumens go to work.
It also adjusts color temperature between 2,900 and 7,000 K.
It makes sense when the light sits farther away, the room is big or you need to cover a larger area.
And especially when you start working with a green screen.
On a green screen, having light isn’t enough.
The green on this side and the green on that side have to look close enough for OBS to key them out together.
One half bright. The other dark.
Now OBS has two greens trying to pass as one.
That’s where a big panel with more headroom starts earning its size.
But for a small face in the corner of the stream, it may be more than you need.
If your light is a foot and a half away and only has to light you from the shoulders up, you might be buying light for a room that never makes it into the shot.
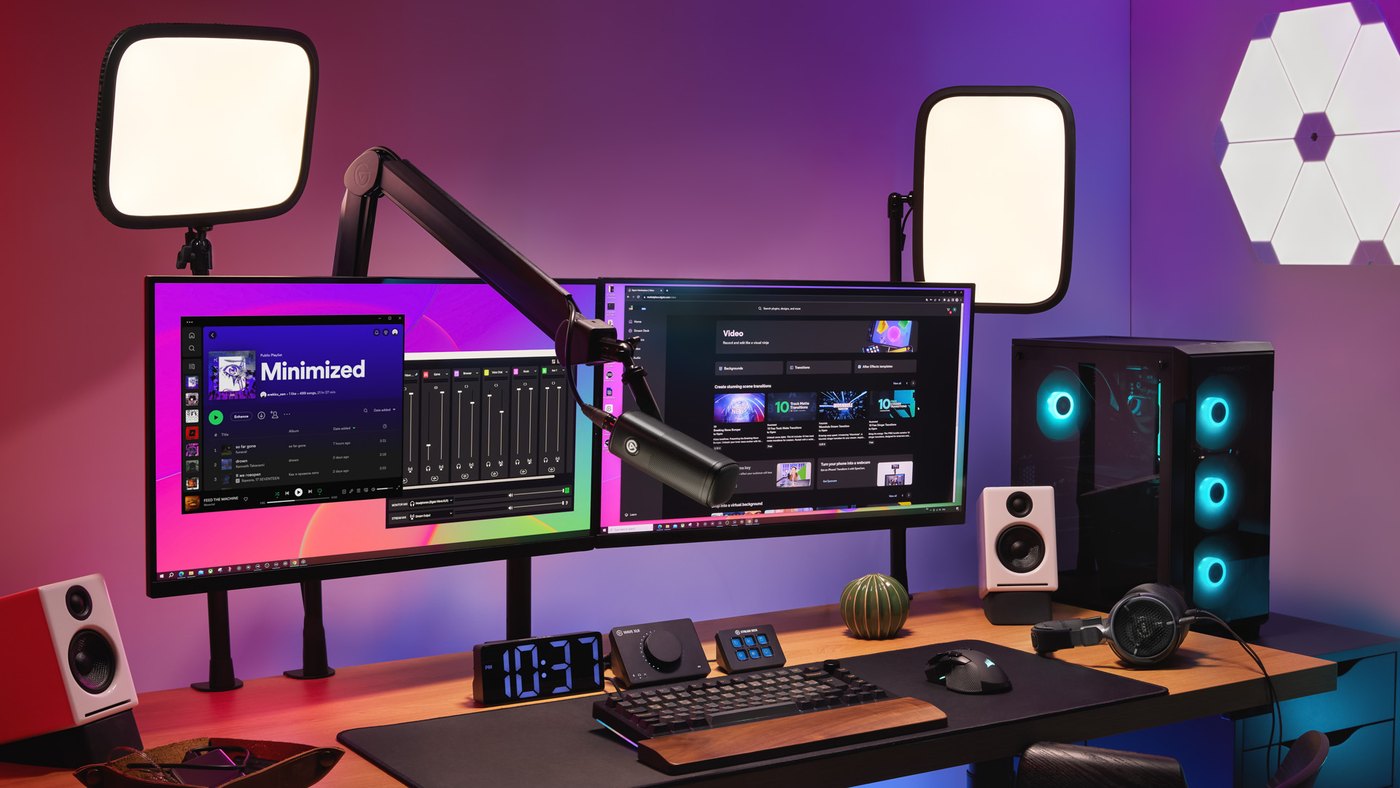
See Elgato Key Light on Amazon
Which one to pick
If you stream during the day and have a good window in front of you or to one side, start there.
Before you open Amazon, open the curtains.
If you need something cheap and can live with a less tidy setup, an LED work light can be your first light.
Place it well. Soften it if needed. Look at the image.
If you want a small panel for a face sitting close to the webcam, the Key Light Neo fits best.
If you want a light that stays mounted on a desk, with more surface and room to move it back, the Key Light Air MK.2 is the middle ground.
If you have a big room, shoot wide or work with a green screen, the Key Light uses its 2,800 lumens to cover more space.
And then go back to the start.
Key to one side. Fill against the shadow. Backlight behind.
Don’t buy three lights because someone drew three circles on a diagram.
Put up one. Look.
Let the next one show up when it has a job to do.
If you’re still choosing a camera, our guide to which webcam to buy for streaming explains why a well-placed light usually improves the image more than jumping straight to 4K.
This guide is part of GTA 6 Gear, home to our guides on capture cards, microphones, webcams, lighting and stream controls.
Primary sources: Elgato, official product pages and comparison for the Key Light Neo, Key Light Air MK.2 and Key Light; James Cameron Instructor Guide, sections on basic lighting, budget equipment and low-budget production.
In Cameron’s guide, the three-point setup puts the key light on one side, the fill on the opposite side and the backlight behind. It also suggests clamp lights, LEDs and tripod work lights for small budgets, heat-resistant filters (including blue gel to correct yellowish halogens), diffusion, Cinefoil and making the most of natural light.
Last checked: September 27, 2026.