Best DaVinci Resolve export settings for YouTube: 1080p, 1440p and 4K
For YouTube, export from DaVinci Resolve as an MP4 with H.264, at your timeline's resolution and the same frame rate you recorded at. Bitrate comes from YouTube's own table: 12 Mbps for 1080p60, 24 Mbps for 1440p60 and 53 to 68 Mbps for 4K60.
- 1080p60
- 12 Mbps
- 1440p60
- 24 Mbps
- 4K60
- 53–68 Mbps
- Audio
- AAC 48 kHz
- Confirmed
- Unconfirmed
- Master Roshi Technique
- Quick and easy
What these labels mean
- Confirmed
Confirmed means the information comes from its owner: the studio, publisher, manufacturer or platform (Rockstar, Take-Two, Sony, Elgato, YouTube…).
- Unconfirmed
Unconfirmed is everything else: media reports, leaks, estimates, community reconstructions and our own deductions. A rumor remains unconfirmed even when many outlets repeat it.
- Master Roshi Technique
The best trick for completing that objective.
- Quick and easy
The quick route, with the steps needed to keep it simple.
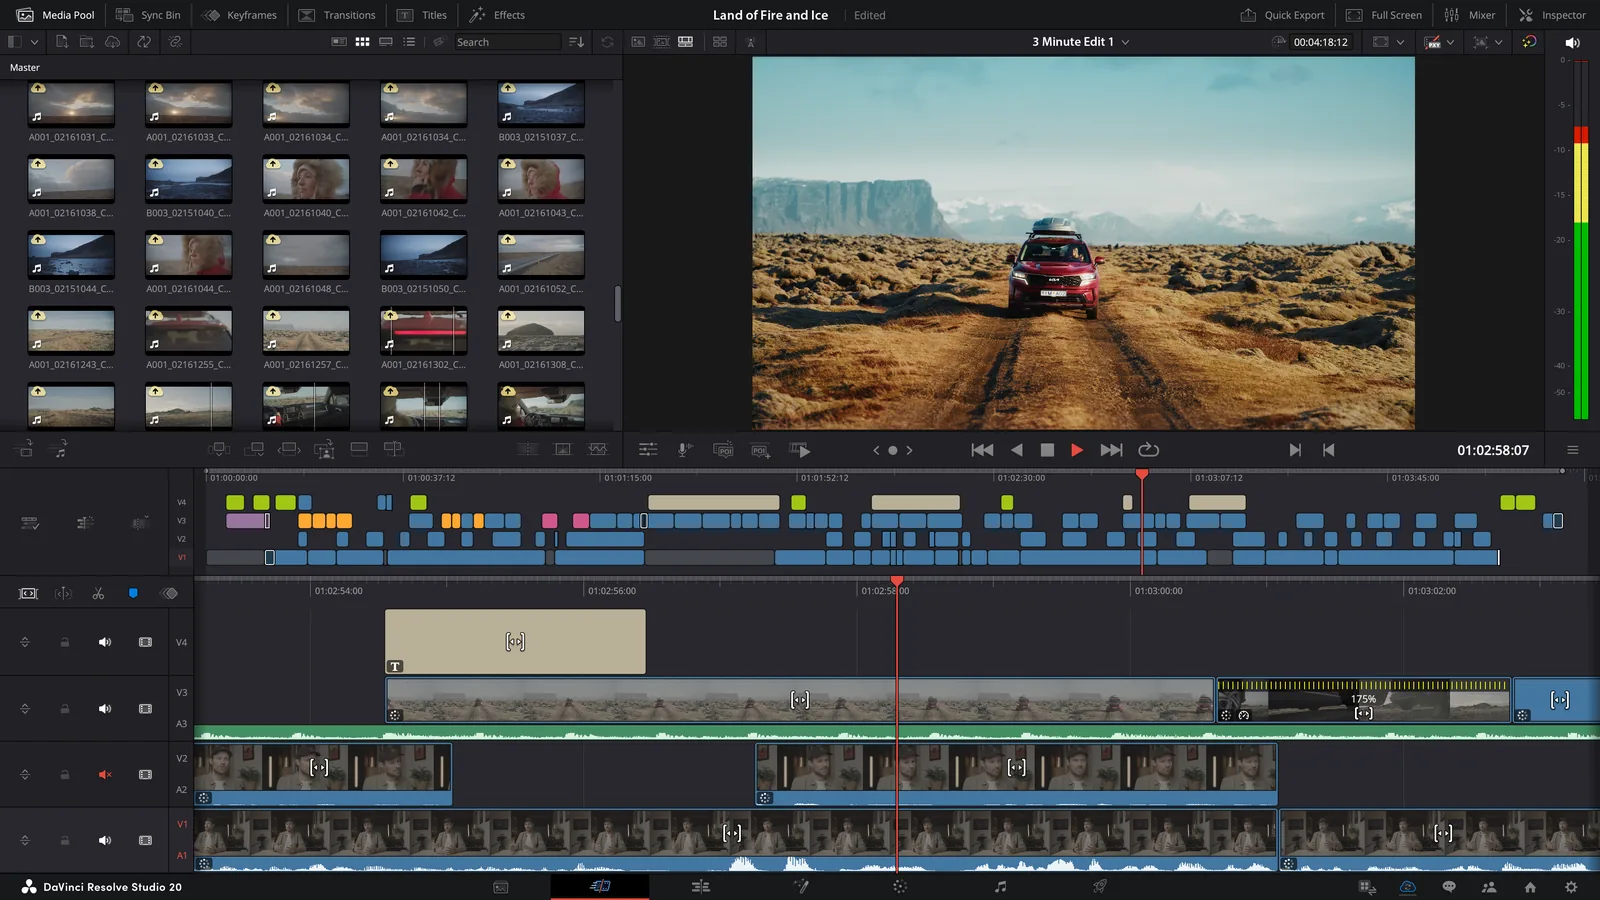
To export a YouTube video from DaVinci Resolve, go to the Deliver page and pick MP4, H.264, your timeline’s resolution and the same frame rate you recorded at. Bitrate depends on resolution: YouTube recommends 12 Mbps for 1080p at 60 fps, 24 Mbps for 1440p60 and 53 to 68 Mbps for 4K60.
You’ve finished the edit, it looks good inside Resolve and it’s time to get it out. What you set on the Deliver page decides what YouTube has to work with when it compresses the video again.
YouTube’s recommended bitrate
These are the SDR numbers from YouTube’s recommended upload encoding settings:
| Resolution | 24–30 fps | 48–60 fps |
|---|---|---|
| 1080p | 8 Mbps | 12 Mbps |
| 1440p | 16 Mbps | 24 Mbps |
| 4K (2160p) | 35–45 Mbps | 53–68 Mbps |
If you recorded gameplay at 1080p60, start at 12 Mbps; at 1440p60, 24 Mbps; at 4K60, between 53 and 68 Mbps. The same page asks for an MP4 with the file index (the moov atom) at the front, H.264 High Profile, progressive scan, variable bitrate, 4:2:0 chroma subsampling and AAC-LC audio at 48 kHz, with 384 kbps for stereo.
How to export on the Deliver page
When you’re done editing, click Deliver in the row of pages along the bottom. That’s where you build the final file:
- In Render Settings, pick Custom Export. Resolve also ships a YouTube preset that works as a starting point as long as you check every value afterwards.
- Format: MP4. Codec: H.264.
- Resolution and Frame rate: the same as your timeline and your recording.
- Quality: cap the bitrate with Restrict to and type the number in Kb/s. For 12 Mbps, that’s 12000.
- If Encoding Profile shows up, choose High. If you see a Network Optimization checkbox, tick it: it puts the file index at the front, the way YouTube asks.
- In the Audio tab: AAC, 48 kHz and 384 kb/s, or the closest value the menu offers.
- Add to Render Queue, then Render All in the queue on the right.
My 1080p60 gameplay preset
If I had to export a 1080p60 gameplay video from Resolve right now, this is what I’d set:
- MP4, H.264, High profile
- 1920×1080 at 60 fps
- 12 Mbps (12000 Kb/s)
- AAC audio, 48 kHz
For 1440p60, change the resolution to 2560×1440 and the bitrate to 24 Mbps. For 4K60, 3840×2160 and 53 to 68 Mbps. Everything else stays the same. I export, check the file locally and, if it’s clean, upload it.
Export one minute before you export an hour
Pick a one-minute stretch with grass, water, fast motion and small text. Mark it with an in point and an out point on the timeline, switch the render range from the entire timeline to that range and export it with your preset. Watch it full screen. If it holds up there, export the rest. If it falls apart, you’ve spent one minute of render time and you know what to change.
Keep the same frame rate
If you recorded at 60 fps, export at 60; if you recorded at 30, export at 30. YouTube asks you to upload at the same frame rate you recorded at. If you push a 30 fps video to 60 on export, the software has to repeat or make up the missing frames, because the recording only holds 30 real moments per second. Leave it at its real speed.
What bitrate is
Imagine you have to describe every second of video with a limited amount of data. A still wall takes very little. A forest in the rain, with a car tearing through, water reflecting lights and the camera spinning, takes a lot more. Bitrate is that amount: the megabits per second you give the video to describe it.
More bitrate means more information, up to a point. With a half-empty glass, adding water makes a difference; with a full glass, the water spills over the side. If your export is starved of data you’ll see blocks, smearing and lost detail, and raising the bitrate fixes part of that. Once the file already holds the image well, multiplying the number gets you less and less.
Then YouTube steps in and re-encodes whatever you upload to build its own versions. You can export 1080p gameplay at 300 Mbps, and viewers will still watch the version YouTube made from it.
H.264, H.265 or AV1
For a simple export headed to YouTube, I’d use H.264. It’s the most compatible codec and the one in YouTube’s upload recommendations. H.265 (HEVC) and AV1 compress more efficiently and get smaller files at high quality, in exchange for exports that can take longer and the need for compatible hardware and software to run smoothly. For recording they can be very useful, and that’s covered in our best OBS settings for gaming.
Upscaling 1080p to 4K
Resolve can do it, including the free version, which finishes video in Ultra HD 3840×2160 at up to 60 fps. You take a 1920×1080 image, scale it to 3840×2160 and the file now measures 4K. The detail is still whatever made it into the recording: small objects that were never captured don’t appear when you make the picture bigger. 4K can’t fix a bad source.
A theory goes around among creators that uploading 1080p upscaled to 1440p or 4K makes YouTube process it with a different encode and improves some scenes. YouTube’s upload page doesn’t mention that effect. We’ll test it with the same gameplay exported at 1080p, 1440p and 4K.
Why it looks good on your PC and worse on YouTube
Your exported file can look perfect. You upload it and the grass turns to mush, the water loses detail and blocks show up when the camera turns. YouTube has made another version of the video to stream over the internet, and scenes full of small moving things are the hardest to compress: grass, leaves, rain, smoke, water, particles, confetti or a fast camera pan. A still face in front of a wall is much easier. That’s why compression problems show up so much in gameplay.
YouTube also processes the low-quality versions first, and higher resolutions take longer: according to its help page, a 60-minute 4K video at 30 fps can take up to 4 hours to fully process, and longer at 60 fps. If you just uploaded a 4K video and it looks terrible, open the gear icon, go to Settings > Quality and check whether the higher resolutions are there yet before you touch your Resolve settings.
If your video still looks blurry
Check the file that came out of Resolve first. If it already looks bad locally, the problem happens before YouTube: check your capture, resolution, export bitrate and source footage. If it looks fine locally, upload it, wait for processing to finish and compare. If it only loses detail on YouTube, continue with why your YouTube video looks blurry.
If you haven’t settled on an editor yet, our best video editing software for YouTube compares Resolve with Premiere, CapCut and the rest. If you shoot on a phone, Blackmagic Camera fits especially well with a Blackmagic Cloud and DaVinci Resolve workflow. If you cut in Premiere or CapCut, the matching settings are in our Premiere Pro export settings for YouTube and CapCut export settings for YouTube guides.
Primary sources: YouTube, recommended upload encoding settings; YouTube, high-resolution video processing; Blackmagic Design, DaVinci Resolve Studio.
Last checked: October 1, 2026.