Best OBS settings for gaming: how to set it up for recording and streaming
For recording: MKV, a hardware encoder and constant quality around CQP 18. For streaming at 1080p60: 6000 kbps on Twitch and 12 Mbps on YouTube Live with H.264, both in CBR with a keyframe every 2 seconds.
- Twitch 1080p60
- 6000 kbps
- YouTube Live 1080p60
- 12 Mbps
- Recording
- MKV
- Keyframes
- 2 s
- Audio tracks
- Up to 6
- Confirmed
- Unconfirmed
- Master Roshi Technique
- Quick and easy
What these labels mean
- Confirmed
Confirmed means the information comes from its owner: the studio, publisher, manufacturer or platform (Rockstar, Take-Two, Sony, Elgato, YouTube…).
- Unconfirmed
Unconfirmed is everything else: media reports, leaks, estimates, community reconstructions and our own deductions. A rumor remains unconfirmed even when many outlets repeat it.
- Master Roshi Technique
The best trick for completing that objective.
- Quick and easy
The quick route, with the steps needed to keep it simple.
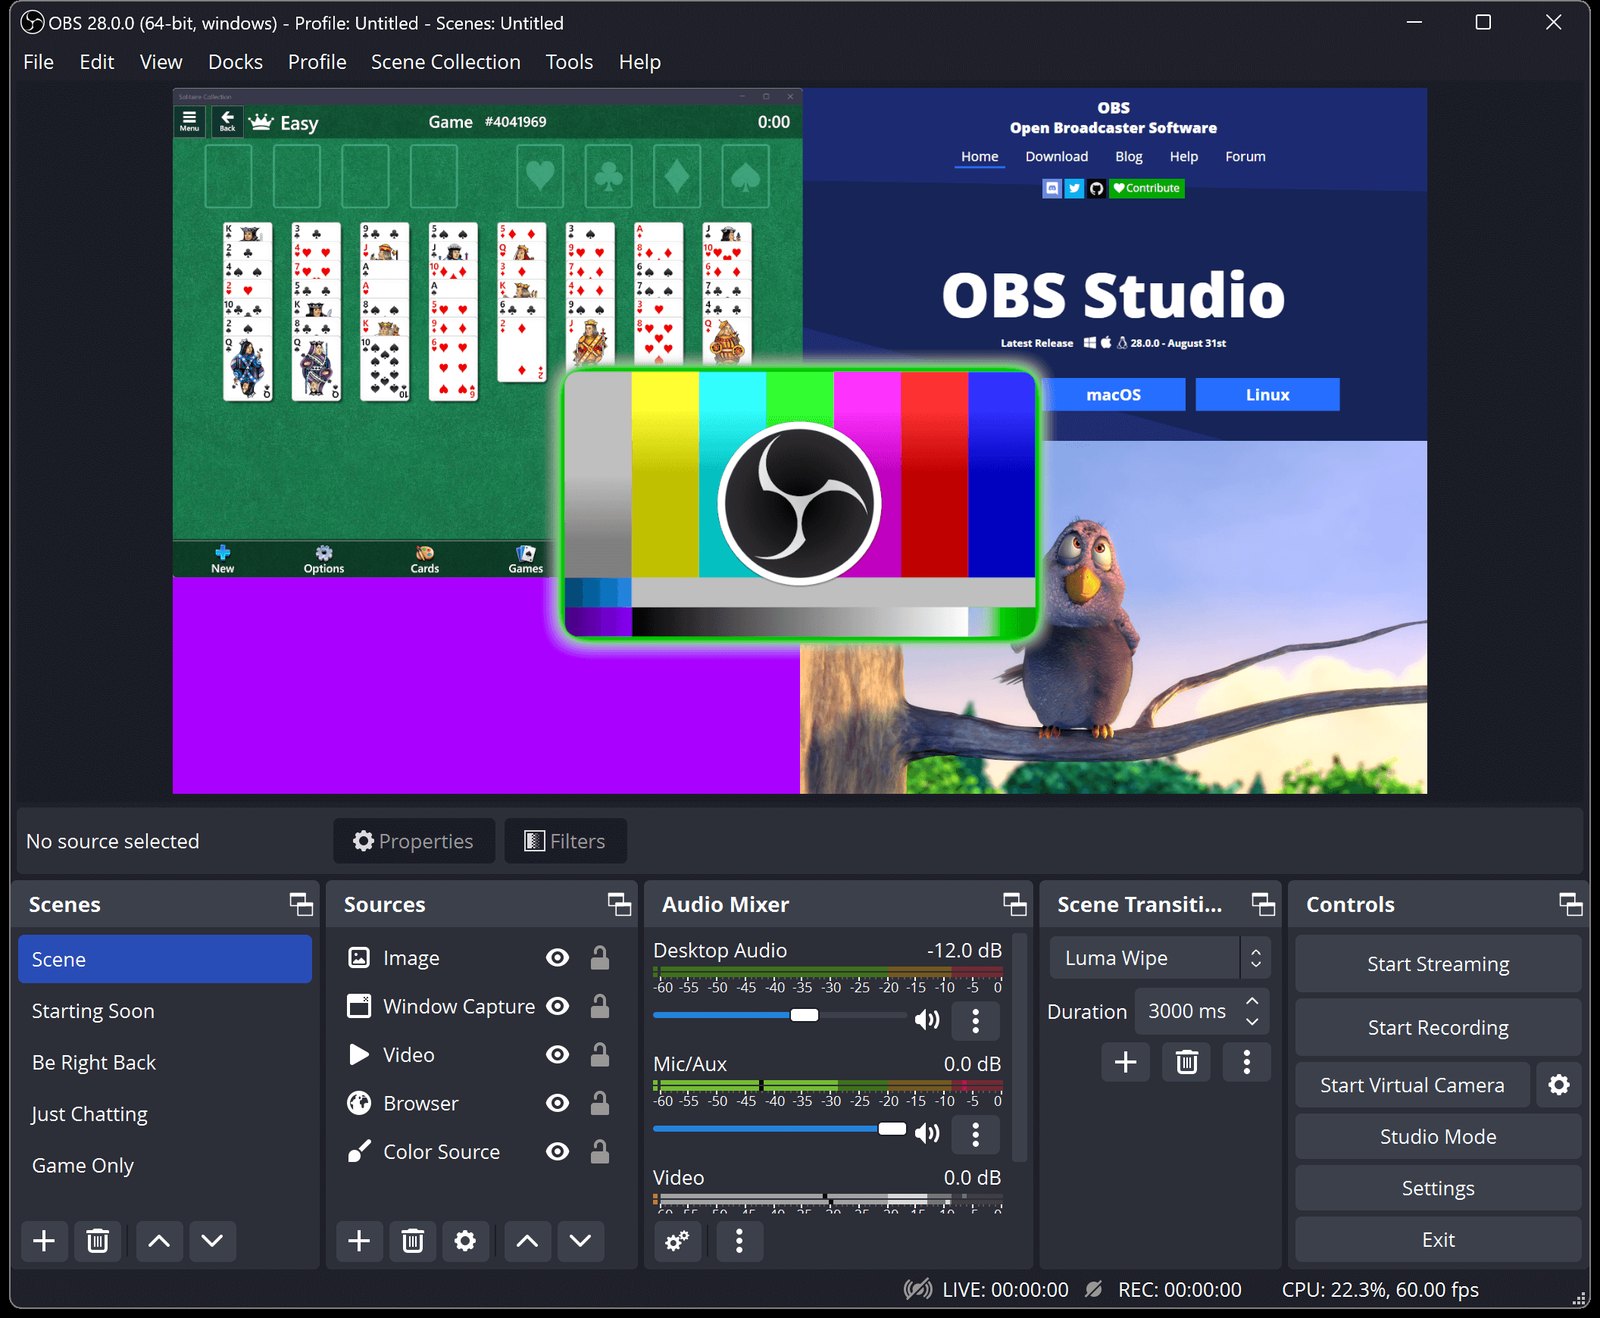
The best OBS settings for gaming come down to one decision: recording a file or streaming live. For recording, my starting point is MKV, a hardware encoder and constant quality at CQP 18. For streaming at 1080p60, Twitch recommends 6000 kbps and YouTube Live recommends 12 Mbps with H.264, both with constant bitrate (CBR) and a keyframe every 2 seconds.
Open OBS and you get bitrate, encoder, CQP, CBR, AV1 and keyframes all at once. Almost all of it sorts itself out once you know where the video is going. A recording goes to your drive and can keep as much information as each scene needs. A stream leaves through your internet connection in real time, at a fixed rate the platform sets. That’s why the settings change.
Quick settings for recording gameplay
On a modern PC, this is where I’d start:
| Setting | Value |
|---|---|
| Output mode | Advanced |
| Recording format | MKV |
| Encoder | AV1 if your GPU and editor support it; otherwise HEVC; otherwise H.264 |
| Rate control | CQP (or its equivalent: CRF, ICQ) |
| Quality level (CQ) | 18 |
| Keyframes | 2 s |
| FPS | 60 if your PC can hold it |
| Audio | Game and mic on separate tracks |
Record one tough minute: run, swing the camera around and find grass, water, smoke or a crowded street. If the file looks clean, you have a baseline.
Bitrate for Twitch and YouTube Live
These numbers come straight from each platform’s documentation. From Twitch’s broadcasting guidelines:
| Quality | Bitrate |
|---|---|
| 1080p60 | 6000 kbps |
| 1080p30 | 4500 kbps |
| 720p60 | 4500 kbps |
| 720p30 | 3000 kbps |
Twitch asks for CBR and a keyframe every 2 seconds. It also has a mode called Enhanced Broadcasting that supports HEVC and AV1 with higher limits; this guide sticks to plain H.264.
From YouTube Live’s encoder settings, with H.264:
| Resolution | 30 FPS | 60 FPS |
|---|---|---|
| 720p | 4 Mbps | 6 Mbps |
| 1080p | 10 Mbps | 12 Mbps |
| 1440p | 15 Mbps | 24 Mbps |
| 4K | 30 Mbps | 35 Mbps |
YouTube supports H.264, HEVC (H.265) and AV1, asks for CBR and recommends a keyframe every 2 seconds, 4 at most.
Put the two 1080p60 rows side by side: Twitch, 6 Mbps; YouTube with H.264, 12 Mbps. Same resolution, same frame rate, twice the data on one platform. Before you copy someone’s bitrate, check where they stream.
Start with the Auto-Configuration Wizard
OBS has a wizard under Tools > Auto-Configuration Wizard. According to the OBS quick start guide, it tunes OBS for what you plan to do, streaming or recording, based on your hardware and, for streaming, your connection.
Run it, then adjust from there with a test. Copying settings from someone with a brand-new GPU can backfire if yours already sits at 99% with just the game open.
For recording, use constant quality
When you record, the video goes to your SSD and never has to cross the internet. OBS can spend more data on exactly the scenes that need it. That’s what CQP, CRF and ICQ do, depending on your encoder. The number works the opposite way from what you’d guess: lower means higher quality and bigger files; higher means more compression and smaller files.
I’d start at 18 and look at the file. If it looks clean, leave it. If you see blocks or smearing during motion, try 17. If the file is huge and you can’t see a difference, try 19 or 20. A one-minute test tells you more than twenty tutorials.
A wall standing still takes very little information to describe. Grass blowing in the rain takes a lot more. With CQP, the encoder holds the quality level and spends whatever each scene asks for, which is exactly what you want when recording gameplay.
Which encoder to pick
The encoder is the part that turns game frames into video. Hardware encoders use a dedicated chip on your GPU or CPU and, according to OBS’s hardware encoding page, take that workload off the CPU with minimal performance impact. In OBS they show up as NVIDIA NVENC, AMD, Intel Quick Sync or Apple VideoToolbox. x264 does the same job on the CPU.
Inside each encoder you pick a codec. AV1 and HEVC compress more efficiently than H.264, so you get the same quality in less space. H.264’s advantage is that almost every program and device can open it. I check them in this order: AV1, HEVC, H.264, with two questions first. What does your GPU offer (hardware AV1 is only on recent cards)? And what can your editor play back smoothly? If you record AV1 and your editor chokes on it, the space you saved turns into hours of slow editing. Each editor’s options are in our guide to the best video editing software for YouTube.
If you use NVIDIA NVENC
These are the advanced settings I’d start from on an NVIDIA card. Labels can shift a little between OBS versions and GPU generations.
| Setting | Value |
|---|---|
| Rate Control | CQP |
| CQ Level | 18 |
| Keyframe Interval | 2 |
| Preset | P5 |
| Tuning | High Quality |
| Multipass Mode | Two Passes (Quarter Resolution) |
| Profile | High |
| Look-ahead | Off |
| Adaptive Quantization | On |
| B-Frames | 2 |
If you want a quick start, three settings are enough: P5, CQP 18 and keyframe 2. Then test.
Record in MKV
You’re two hours into a recording and OBS crashes, Windows freezes or the power goes out. The OBS recording guide recommends MKV for exactly that reason: if the recording stops abruptly, the whole file doesn’t get corrupted.
When you’re done, convert it to MP4 under File > Remux Recordings (remuxing swaps the container without re-encoding the video). The same guide explains that OBS can do it automatically after each recording with the option to remux to MP4.
Split your voice from the game
You record your voice, the game and Discord on a single track. In the edit your mic is too quiet, you turn it up, and the car engine and your friend yelling on Discord come up with it. There’s no clean fix after that.
In Advanced output mode, OBS records up to six audio tracks, and the recording guide shows how to choose which ones go into the file. I’d split them like this:
| Track | Audio |
|---|---|
| 1 | Everything mixed |
| 2 | Microphone |
| 3 | Game |
| 4 | Discord |
| 5 | Music, if you use it |
Now you can pull the game down without touching your voice, or drop Discord entirely without redoing anything. If your voice sounds bad from the start, the problem sits before OBS: our streaming microphone guide covers what to buy and how much gain it needs. Sort this out before you obsess over two points of CQP.
1080p, 1440p or 4K
Record at the resolution you play at, if your PC can handle it. If you play at 1080p, 1080p60 is fine. If you really play at 1440p or 4K and performance holds, keep that resolution. If you record at 1080p and upscale to 4K later, the new pixels are calculated from the ones already there, so the scene still carries 1080p worth of detail. Set OBS up for the resolution actually in front of you.
60 FPS or 30 FPS
60 FPS shows the most in shooters, racing, combat and any game where the camera never stops moving. It also makes your PC work harder. If OBS drops frames at 60, try 30. A steady 30 looks better than a 60 that stutters every few seconds.
Why 1080p60 can look bad at 6000 kbps
Picture a wall standing still: easy to compress. Now run through a forest in the rain while you swing the camera. Leaves, water, shadows, motion everywhere. The 6000 kbps stay the same and now have to describe far more picture.
That’s why 720p60 can look cleaner than 1080p60 in some scenes: fewer pixels sharing the same amount of data. Test it with your own game before you decide.
Which encoder to use for streaming
If your PC has a hardware encoder, try it first. It handles the encoding and leaves more room for the game. x264 works fine with a CPU to spare, but if your processor is already busy with the game, Discord, a browser and OBS, a hardware encoder is the easier place to start. YouTube Live also takes HEVC and AV1 when your GPU and software can use them, and its encoder table gives them lower bitrates than H.264.
Base canvas and output resolution
Under Settings > Video, OBS shows two resolutions: Base (Canvas) Resolution and Output (Scaled) Resolution. Think of the canvas as a table. On it you place the game, the webcam, chat and overlays. The output resolution is the final photo of that table.
You can build everything at 1920×1080 and stream at 1280×720. Your scene layout stays the same and you send a smaller picture when your PC or connection is struggling.
When the game uses the whole GPU, OBS runs out of room
The game runs great, the GPU reads 99%, you open OBS and frames start dropping. OBS needs the GPU too, to put the final picture together. If the game takes 99%, OBS gets the leftovers.
The first test is simple: cap the game’s frame rate. The OBS performance guide recommends capping it to your monitor’s refresh rate and, if that’s not enough, to the frame rate OBS records at. If the game renders 140 FPS and you record at 60, your GPU is spending effort on frames OBS will never use. After that you can lower a heavy graphics setting or remove sources and filters from your scene. If your PC is tight across the board, the full order is in OBS settings for a low-end PC.
What to check when something breaks
Open OBS’s stats. If it’s dropping frames to rendering or encoding, your PC isn’t keeping up: cap the game’s FPS, lower one graphics setting, lower the output resolution, go from 60 to 30 FPS or remove sources and filters, one at a time.
If the dropped frames come from the network, the problem is your connection. Raising the bitrate makes it worse; lowering it is the first test.
If the file looks good on your PC and blurry on YouTube, OBS did its job. YouTube re-compresses everything you upload and processes a low-quality version first; higher resolutions show up later. Grass, water, particles and fast motion take the biggest hit. The full explanation is in why your YouTube video looks blurry.
If you just installed OBS
- Run the Auto-Configuration Wizard.
- Use your hardware encoder if your PC has one.
- Record in MKV.
- Start around CQP 18.
- Put game and mic on separate tracks.
- Record one tough minute and watch it.
If it works, stop there. Every setting you touch after that should fix something you saw in a test. If you also record from a console, the other half of the setup is in our GTA 6 capture card guide.
Primary sources: Twitch, Broadcasting Guidelines; YouTube, Choose live encoder settings, bitrates, and resolutions and video processing; OBS Project, Quick Start Guide, Standard Recording Output Guide, Hardware Encoding and Encoding Performance Troubleshooting.
The recording values (CQP 18, codec order and the NVENC table) are my personal starting point. The live bitrates are Twitch’s and YouTube’s official numbers.
Last checked: October 1, 2026.